"Everything You See... I Owe To Spaghetti" - Sophia Loren
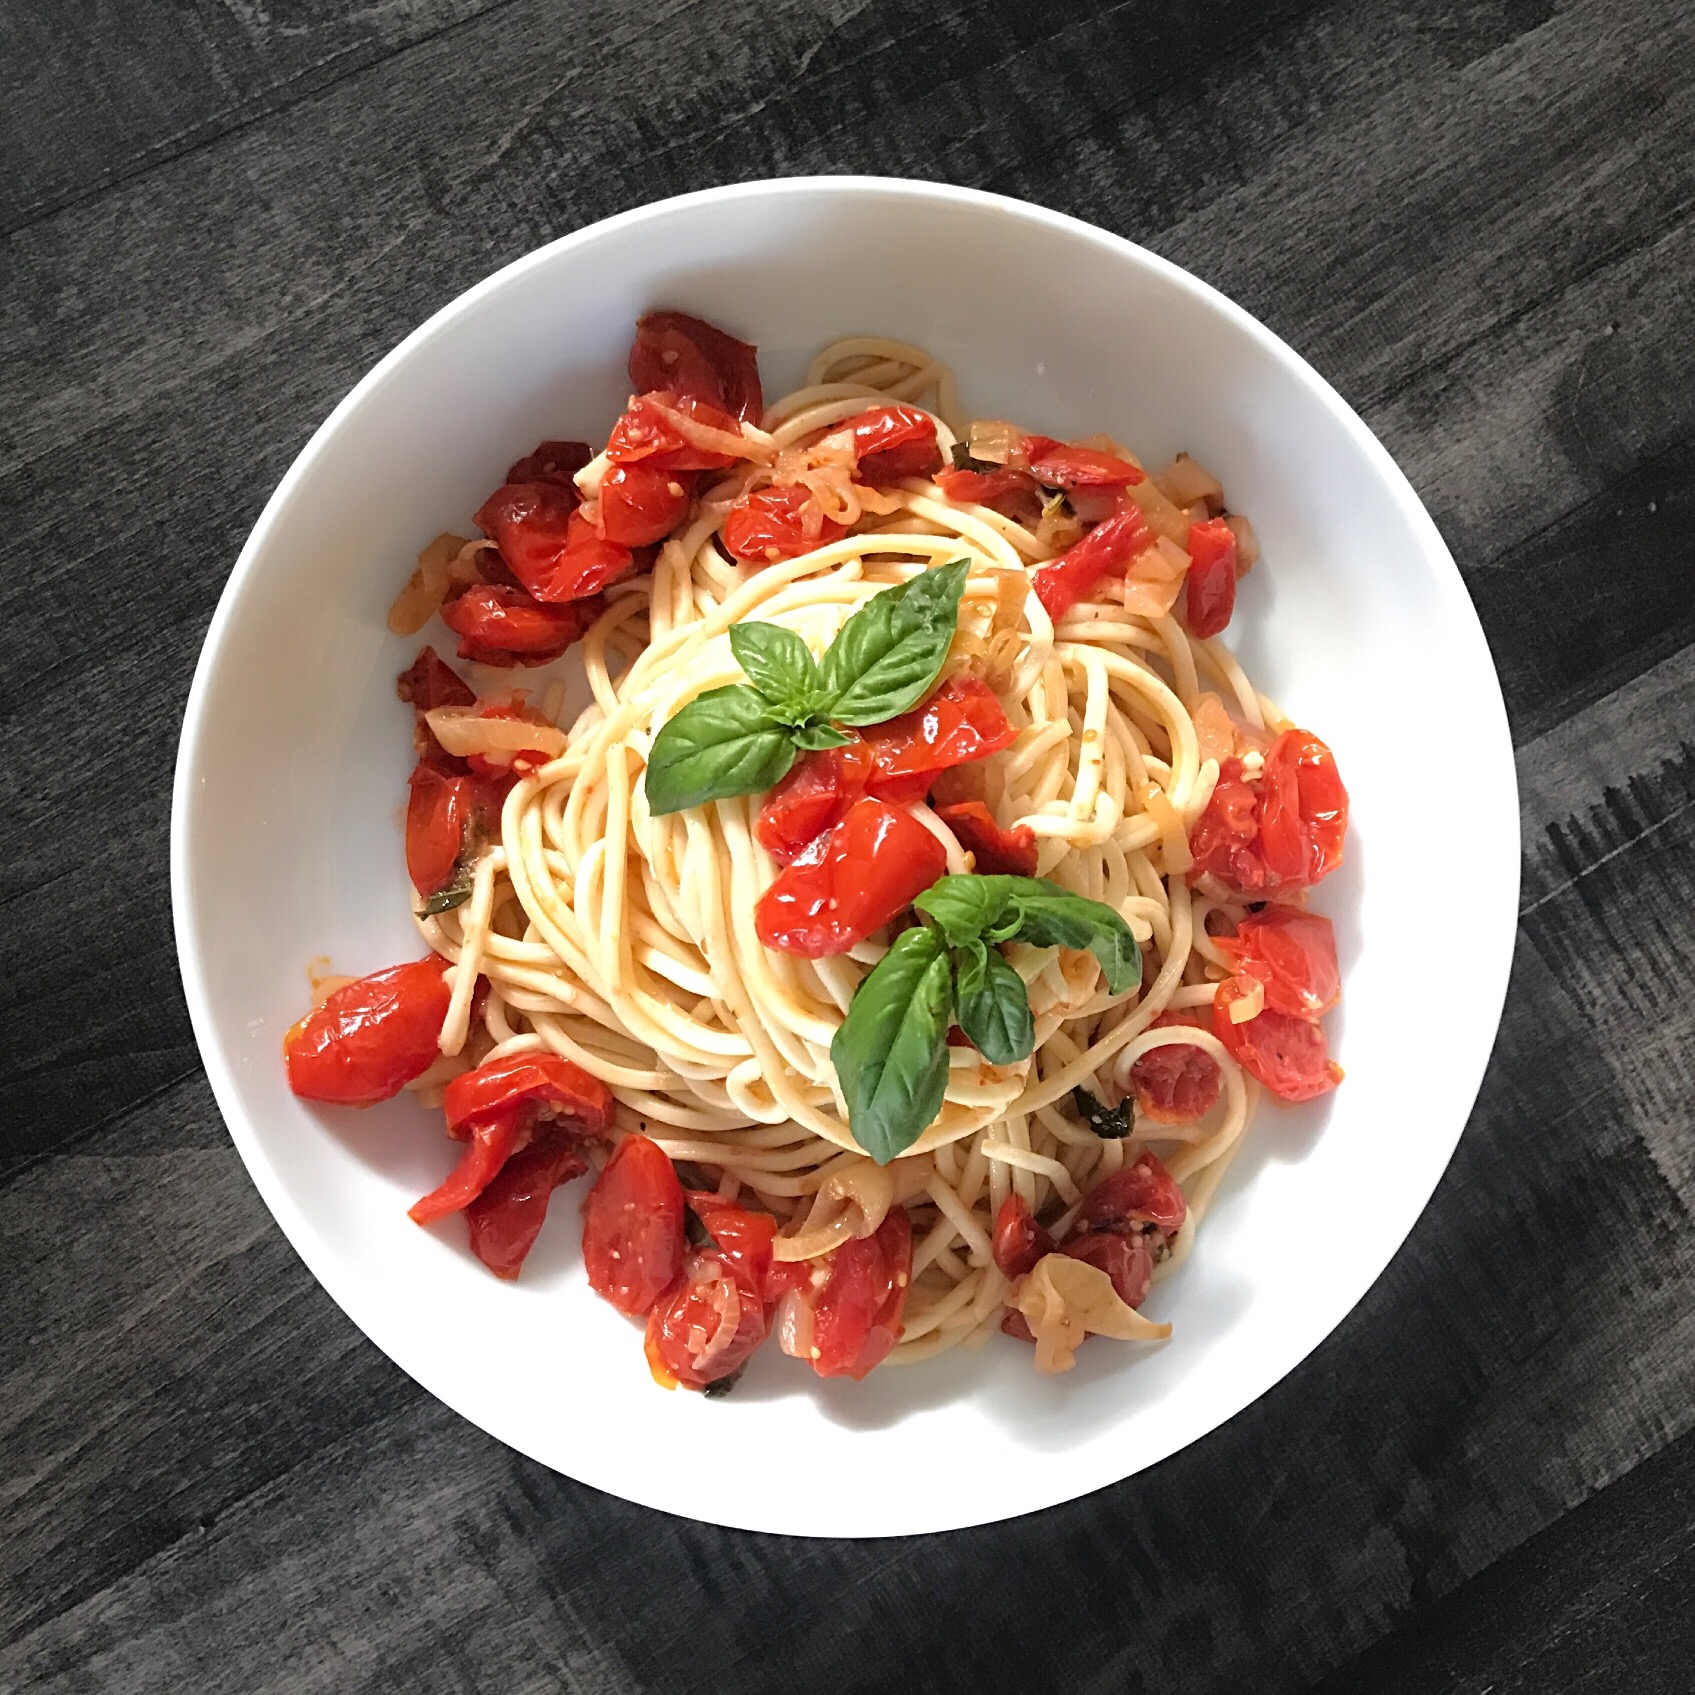
Homemade Pasta with Roasted Cherry Tomato Sauce
This flavourful sauce lets this seasons ingredients shine coupled with light as air homemade pasta. Just add a beautiful view, good conversation and a glass of wine and enjoy.
This sauce is a variation of the recipe created by Michael Smith chef at home (his called for olives and since everyone in my house isn’t a fan I modified it a little) – the original can be found here from Food Network.
Roasted Cherry Tomato Sauce
Ingredients
4 pints cherry tomatoes, de-stemmed and halved
4 large shallots, peeled and chopped
1 head garlic, peeled and sliced
10 large basil leaves, chiffonade
½ cup olive oil
Sprinkled sea salt and freshly ground black pepper, to taste
Prep Time: 15 Minutes
Cook Time: Approximately 1 hour
Serves 4-6 or (or 2-3 with leftovers)
Instructions
1. Preheat your oven to 325°.
2. Put cut tomatoes into a 9” by 13” baking dish.
Add shallots, garlic, basil, salt and pepper and cover with oil and toss.
3. Place in the oven to roast slowly for approximately 1 hour
when the sauce begins to brown and the tomatoes begin to shrink the sauce is done
4. Toss with pasta
Speaking of Pasta….
If you have never made homemade pasta – I promise you it is not as intimidating as it may seem and I must tell you it is unquestionably worth the effort.
Personally I learned how to make it at a very early age in my Nonnas basement with yard long pasta sheets and an often sore arm from cranking the dough through the old-school pasta machine. Although I have an appreciation for my roots I can tell you the use of the Kitchen Aid Mixer and its attachments allows me to have all the taste in half the time – I think my Nonna would be proud. The pasta comes out light, airy and absolutely delicious.
Homemade Pasta
Ingredients
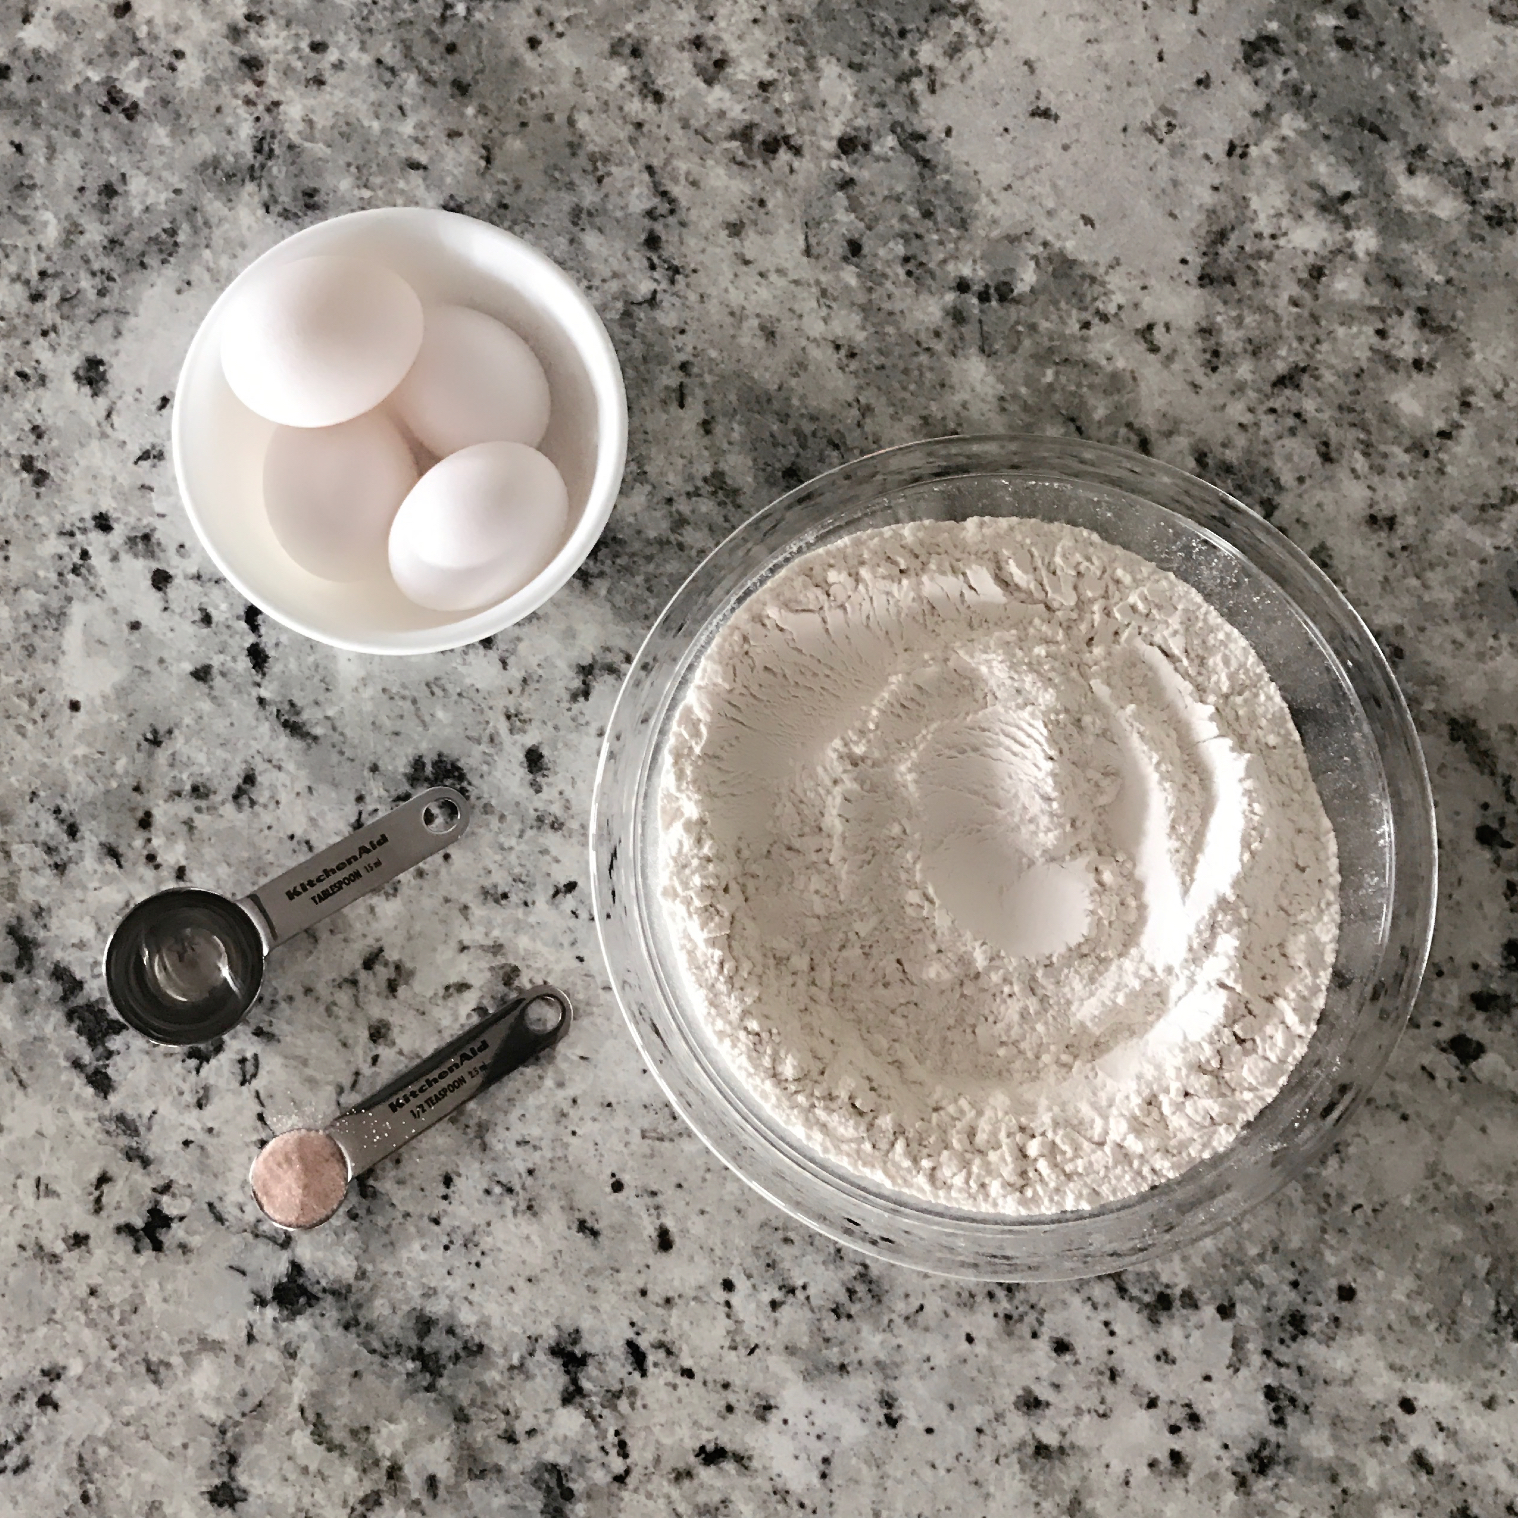
3 ½ Cups all-purpose unbleached flour, sifted (plus a little extra flour for preparing)
½ Teaspoon salt
4 Large Eggs, beaten
2 ½ Tablespoons Water
Yield: 1 1/4 lbs dough
Total Time: 1 hour 15 minutes
Instructions
1. Pour eggs, water, flour and salt in mixer bowl and attach the flat beater. Turn to speed 2 and mix for 30 to 60 seconds. Add more water if the dough is too dry, in 1/2 Tablespoon increments – you can also substitute a ¼ tablespoon of olive oil if you want a smoother texture.
2. Change out the flat beater for the dough hook. Turn to speed 2 and knead for 2 minutes. Remove the dough and knead by hand for 2 minutes. Be sure to prepare a wood or slightly rough plastic by dusting with extra flour. With the heel of one hand push the ball of dough away from you, lift from the far side with your fingers, fold it once back towards you and then rotate the dough a quarter turn. Continue this kneading by hand for 2 minutes or until the dough appears damp without being sticky and is even in yellow colour without flour streaks.
3. Once formed into a ball flip bowl over the dough ball and let it rest for 20 to 30 minutes.
4. Cut dough into four pieces. Take one piece and flatten into a rectangular shape adding flour to both sides. Be sure to leave the remaining quarters under the bowl as not to dry them out. Attach the pasta sheet roller to your stand mixer and set it to #1. Turn on the stand mixer to speed 2 and run the pasta dough through the pasta sheet roller. While on #1, fold the dough in half and run it through again. I do this several times to get an even pliable sheet without any breakage or weak spots.
5. Adding a light dusting of flour to each side of the dough again, change setting to #2 and pass the pasta dough through the sheet roller. I do this twice and then twice each on #3 and then #4. If you want thicker dough, don’t do the #4 setting – make sure to fold the dough each time in order to prevent holes. (This personally has taken me many attempts to get just right – the good news is – even if breaks or you get a hole you can re-form and start over).
6. Once again, add flour to each side of your long pasta sheet. Lay your sheet flat and cut to desired length ( I didn’t do this my first time and wound up with some pretty lengthy noodles)
7. Change the attachment to your spaghetti or fettuccine cutter and turn on to speed 2.
Run the pasta sheet through and with your left hand, hold on to the pasta as it comes through the cutter. Here you can wind it around your hand to create a nest with a little dusting of flour placing it flat on a dry surface or hang the pasta to dry on a drying rack.
8. Allow pasta to dry for a few minutes before boiling.
9. When boiling your pasta, it only needs 3 to 7 minutes to boil.
For this recipe I chose the spaghetti cutter - I typically save the fettuccine cutter for recipes with a thicker, sticky sauce such as a Bolognese.
Extra Tips:
If drying your pasta, hang on clean plastic clothes hangers or a pasta drying rack (the one I use can be found here) for at least an hour.
Although this pasta is best served fresh it is tempting to save some for a future meal. The pasta itself can be made ahead of time and saved and stored in the refrigerator for two days or frozen in the freezer up to two weeks.
To Refrigerate
Fold any long noodles into small nests or fold them dusting them with flour. Allow the pasta to dry for approximately 30 minutes then wrap tightly in plastic wrap and place in the refrigerator.
To Freeze
Fold, dry and wrap the pasta in a re-sealable freezer bag or airtight container to minimize the chance of freezer burn and prevent absorption freezer odours.
A good weeknight and quick meal reminder: Frozen fresh pasta doesn't need to be thawed before cooking - simply drop the frozen pasta into boiling water and cook it as you normally would.
Items Mentioned
KitchenAid Architect Glass Bowl Stand Mixer Cocoa Silver Originally $649.99 CAD Currently on Sale for $479.99 CAD
KitchenAid KSMPRA Pasta Roller and Cutter Set Attachment, Stainless Steel $201.48 CAD on Amazon
Norpro Pasta Drying Rack $17.28 CAD on Amazon
Try any new recipes lately? I want to hear all about it - leave your comments below.
With Nice Things (and a belly full of pasta),
Andrea


